Google Chrome Windows & Macintosh (Importing/Exporting)
Importing your Bookmarks
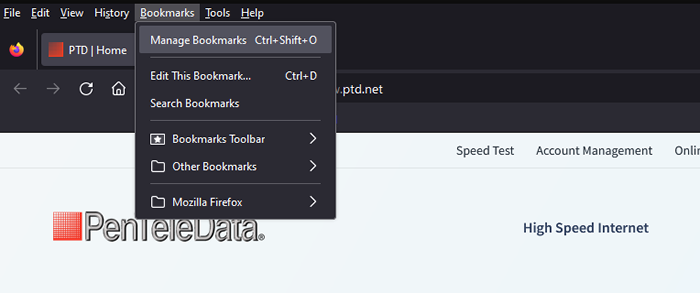
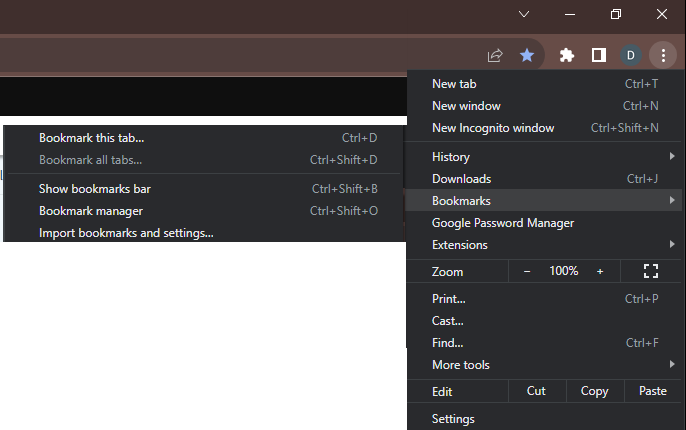
Open Google Chrome and click "…" from the upper right-hand corner, and select "Bookmarks" from the menu bar.

NOTE: Macintosh users, select “Bookmarks…” from the pull-down menu. Next, choose “Bookmarks Manager."

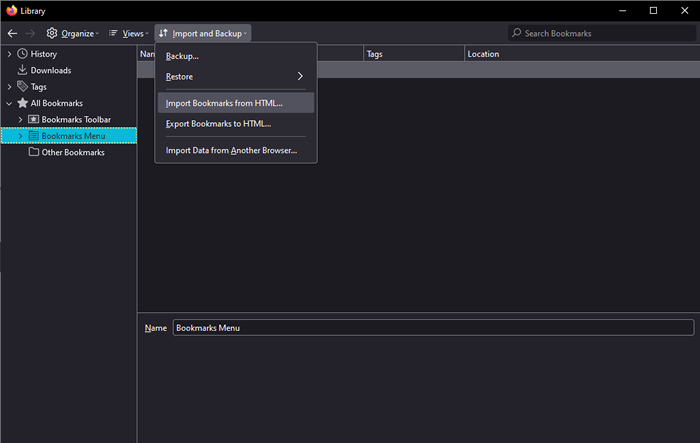
2. The “Bookmarks” dialogue window will now appear, select “…” from the upper right, and choose "Import bookmarks."

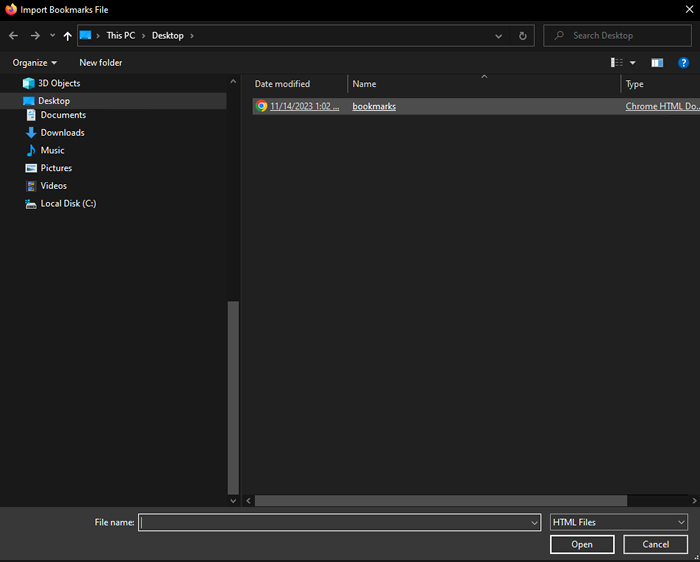
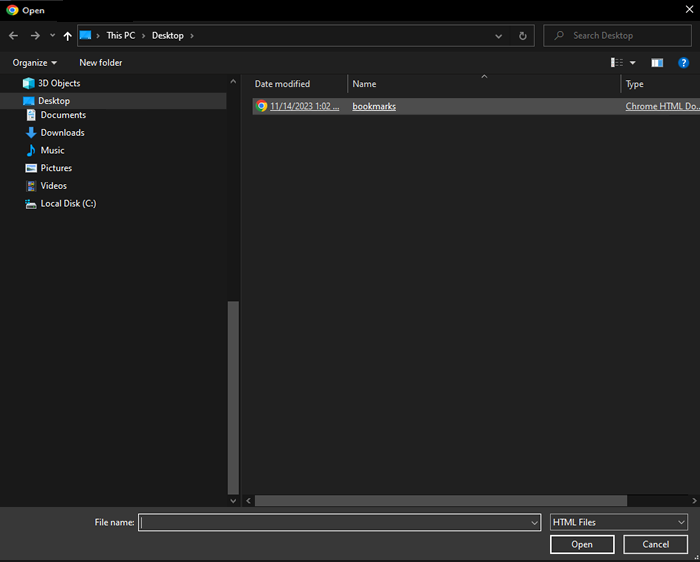
3. Navigate to the backup file and click "Open." Depending on how many bookmarks you have, it may take a few minutes to complete the import process. When finished the wizard will close.

Exporting your Bookmarks
Open Google Chrome and click "…" from the upper right-hand corner, and select "Bookmarks" from the menu bar.
NOTE: Macintosh users, select “Bookmarks…” from the pull-down menu. Next, choose “Bookmarks Manager.”

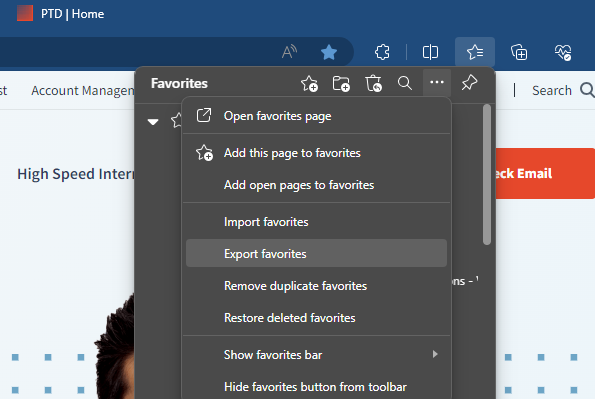
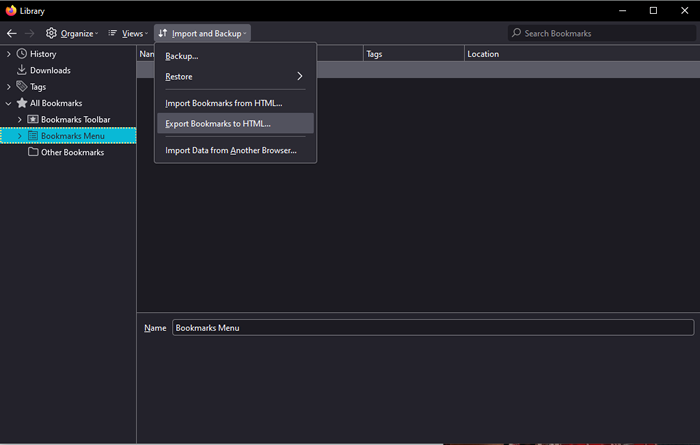
2. The “Bookmarks” dialogue window will now appear, select “…” from the upper right, and choose "Export bookmarks."
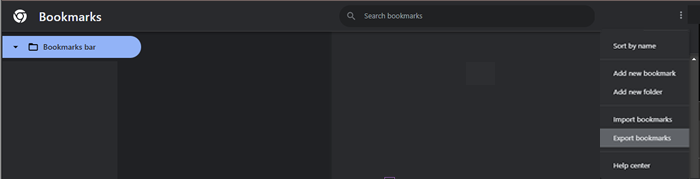

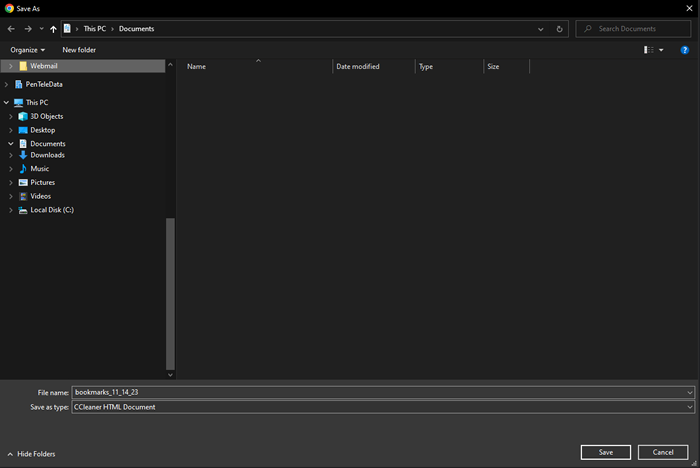
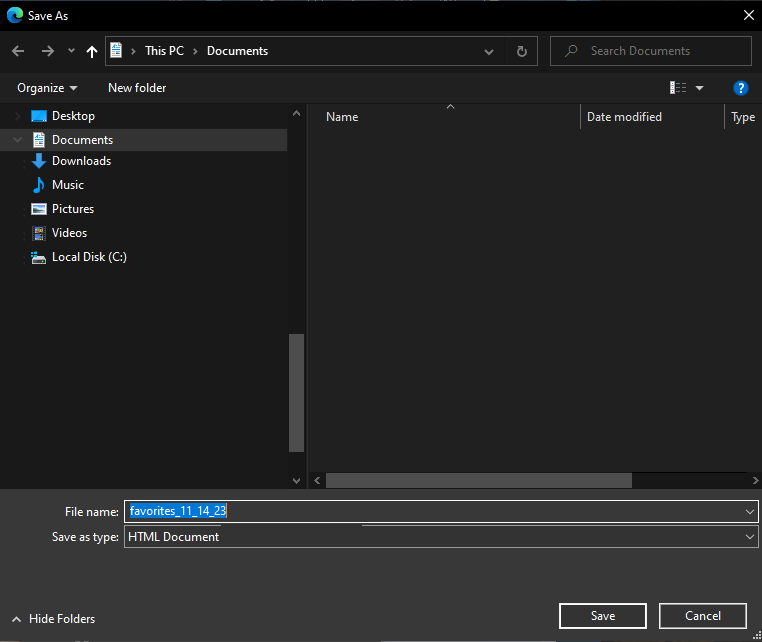
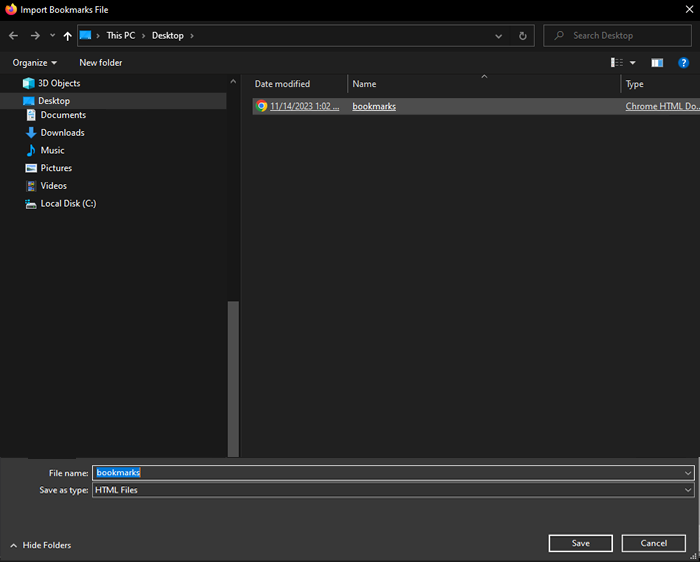
3. Navigate to where you would like to save the file and click "Save." Depending on how many bookmarks you have, it may take a few minutes to complete the export process. When finished the wizard will close.