Microsoft Windows 11 (DSL modem setup)
Creating a PPPoE DSL connection in Windows 10
We thank you for choosing High-speed DSL Internet Service powered by PenTeleData. These instructions will guide you through the setup of your DSL service in Windows 11 and connect you to the Internet.
In the event that you have a question or trouble in setting up your account, please call our Technical Support Department at (800) 281-3564, and follow the menu to get to Residential Technical Support.
If you received software with your DSL package, DO NOT install it in Windows 11! Windows 11 comes with all the software you need to connect to the Internet with PenTeleData.
After you are finished with these instructions, you may want to put them in a safe place. These instructions may be a helpful reference in the future.
Let's Begin:
Close all applications or programs that may be open.
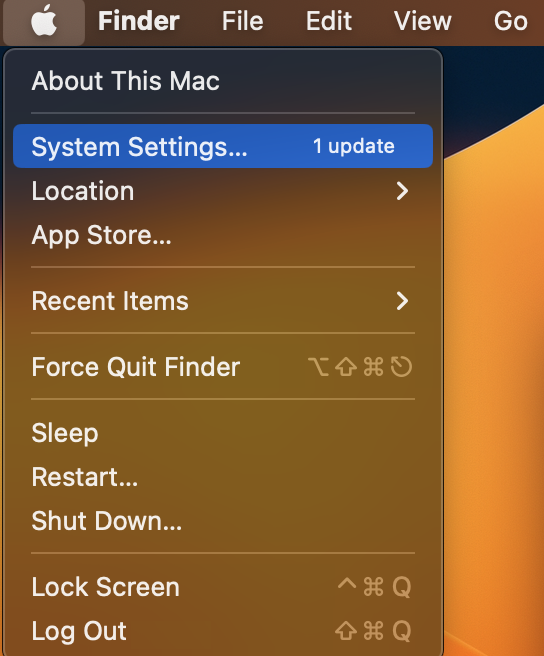
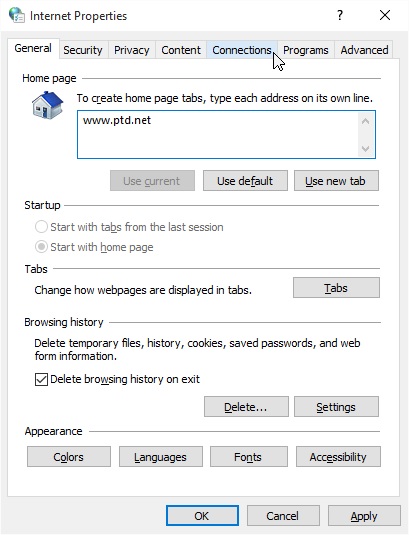
1. Press the Windows key + R on your keyboard to load the Run dialog box. In the Run box type “inetcpl.cpl” (without the quotes) and press “OK” or Enter on the keyboard.
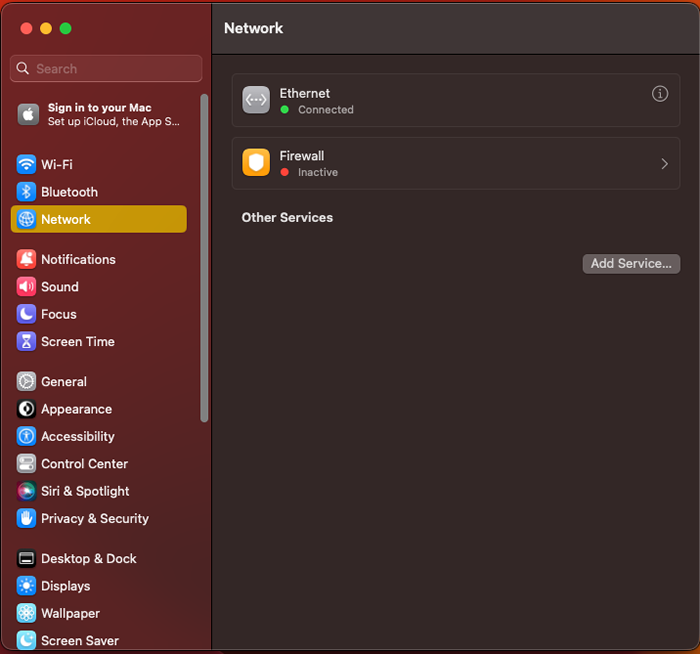
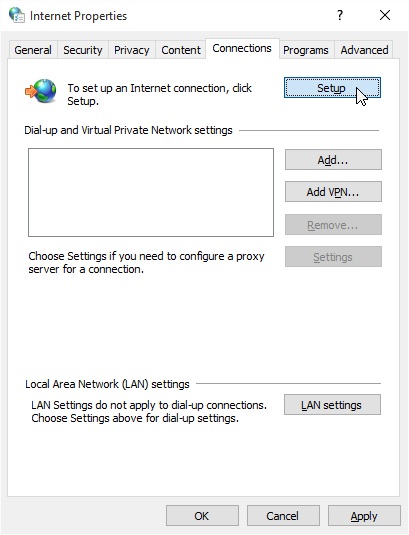
2. Click on the “Setup” button.
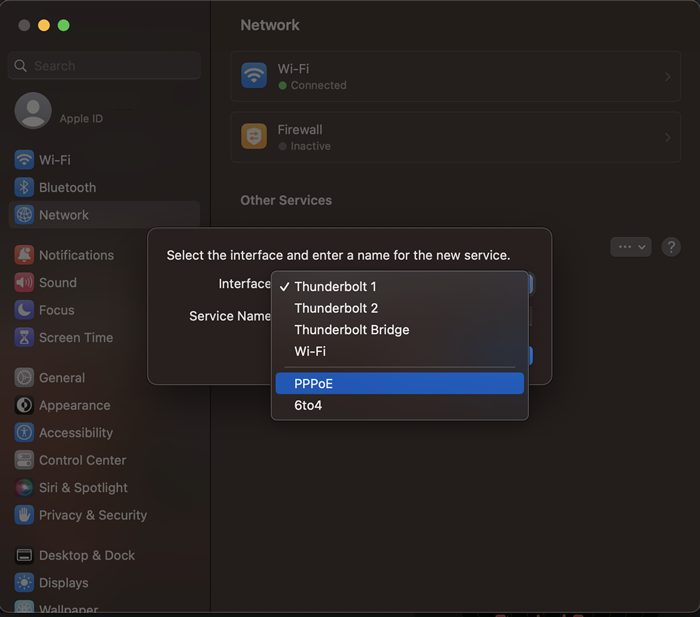
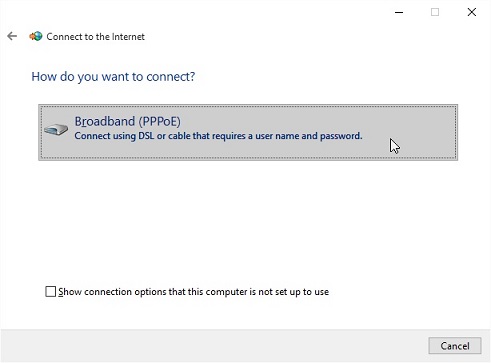
3. The “Connect to the Internet” wizard will now appear. Click “Broadband (PPPoE)” to continue.
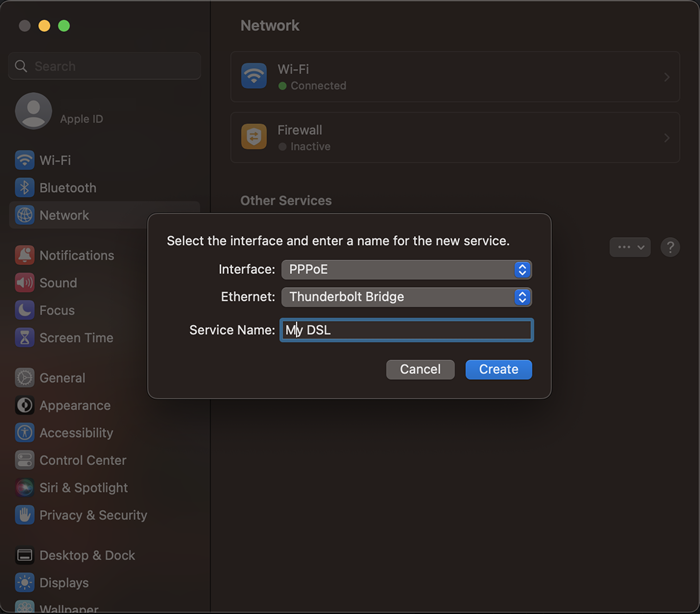
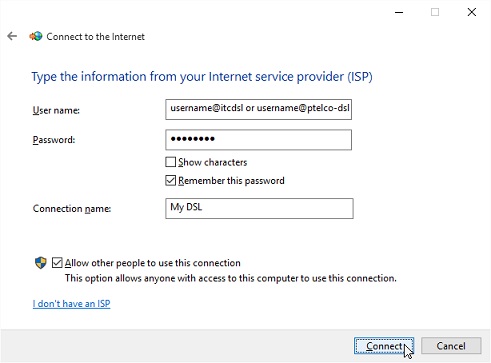
4. You will now be asked to enter the username, password, and a connection name for your High-speed DSL Service.
If your High-speed DSL Service is provided by Ironton Telephone Company, enter your username followed by “@itcdsl” (without the quotes) in the “User name:” field.
If your High-speed DSL Service is provided by Palmerton Telephone Company, enter your username followed by “@ptelco-dsl” (without the quotes) in the “User name:” field.
After you have entered your username enter your password in the “Password:” field.
Note: User names and passwords are case sensitive. Please be certain that your capitalization is correct.
Place a check in the “Remember this password” box.
After you have entered the above information, enter “My DSL” in the field labeled “Connection name:.”
Note: If you would like to share this connection to other users on the computer place a check in the box labeled “Allow other people to use this connection.”
Click “Connect” to continue.
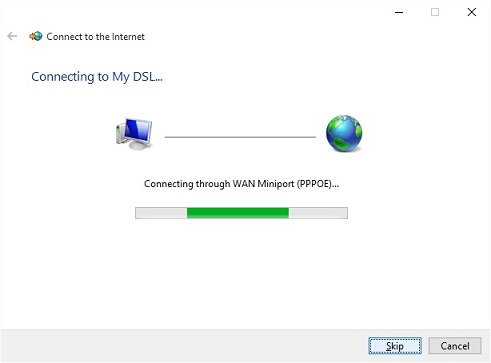
5. Windows will now test your connection.
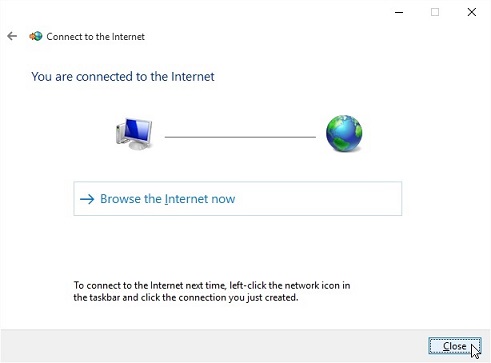
6. Click on the “Close” button to finish the wizard.
Accessing the Internet
To browse the web, you must open the program called "Microsoft Edge" (The replacement for Internet Explorer browser). This program can be found on the Windows Desktop (the big blue E on the screen) or in your Start Menu. After this is done, Microsoft Edge will open and your start page will be displayed. Once open, you can then go to other websites by typing them into the bar labeled "Address" at the top of the browser window (e.g. www.ptd.net).