These detailed instructions will guide you on how to configure you e-mail software to use the PenTeleData Promail Server with an IMAP connection.
1. Open Microsoft Outlook by either selecting the “Microsoft Outlook” icon from the Windows “Desktop” or by selecting the “Microsoft Outlook” icon from the “Windows” menu.
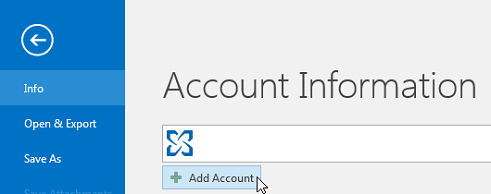
2. Select “Add Account” from the “File” menu.
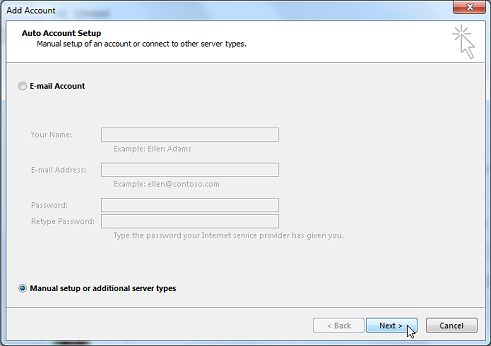
3. Place a dot next to “Manually configure server settings or additional server types” and click “Next.”
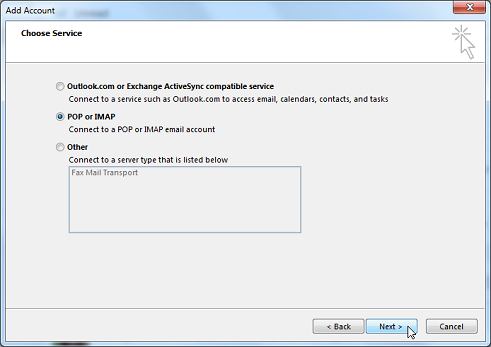
4. Place a dot next to “POP or IMAP” and click “Next.”
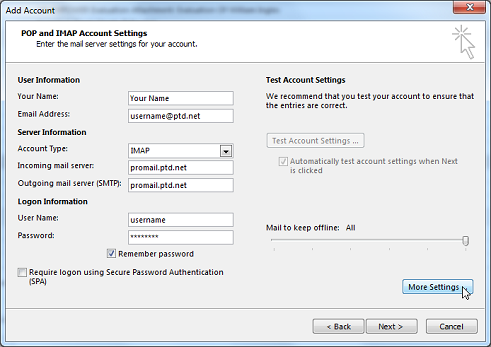
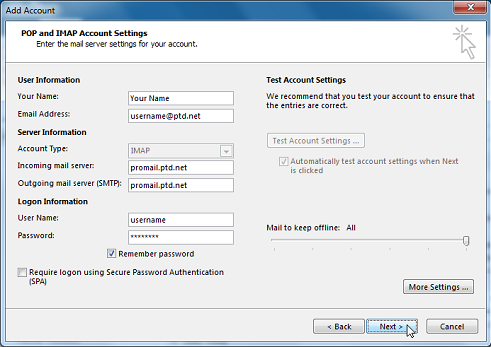
5. In the box labeled "Your Name:", enter your name as you would like it to appear when people receive e-mail from you.
6. In the box labeled “Email Address:”, enter your PenTeleData email address in all lower case letters.
7. In the box labeled “Account Type:”, choose “IMAP” from the drop down box.
8. In the box labeled “Incoming mail server:”, enter “promail.ptd.net” in all lower case letters.
9. In the box labeled “Outgoing mail server (SMTP):”, enter “promail.ptd.net” in all lower case letters.
10. In the box labeled “User Name:” your email address will automatically appear after entering it into the “Email Address” field. Remove the “@ptd.net” from it.
11. In the box labeled "Password:", enter the password that corresponds to your "User Name" entered above. When typing your password, only a series of "***" will appear for password confidentiality.
Note: Usernames and passwords are case-sensitive. Please be certain that your capitalization is correct.
12. When your screen resembles the window below, click on the "More Settings…" button.
13. Click on the “Outgoing Server” tab on the top of this window.
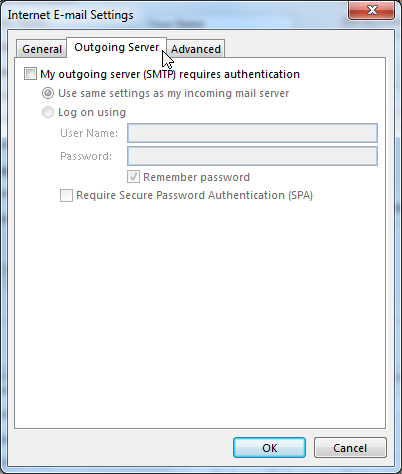
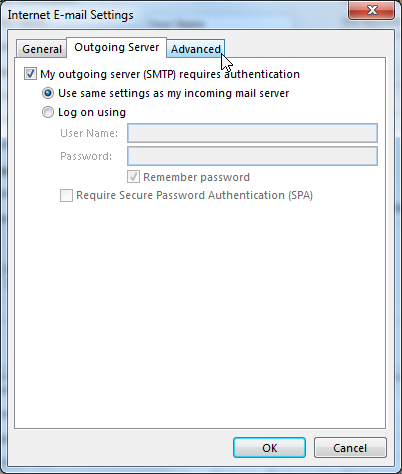
14. Place a “check” next to “My outgoing server (SMTP) requires authentication,” by clicking your mouse over the box one time with the left mouse button. Then click on the “Advanced” tab.
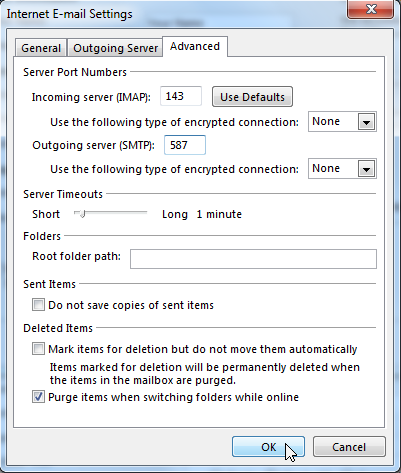
15. In the box labeled “Outgoing server (SMTP):” type “587.” When you are finished click “OK.”
16. You will now be returned to the “Add Account” window, click “Next” to continue.
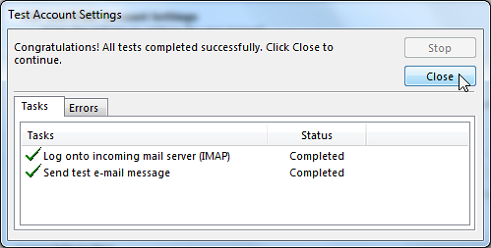
17. Microsoft Outlook will automatically test the account settings. If both tests complete successfully, click “Close.” If there are any errors encountered, go back to step 12 and recheck your settings.
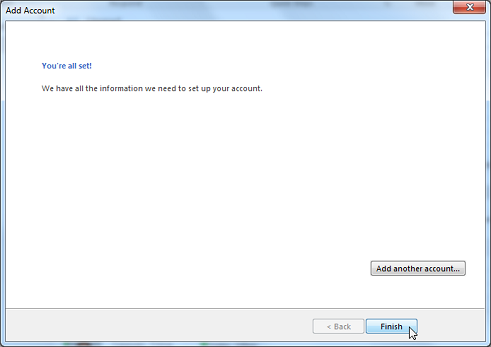
18. The “Add Account” wizard has now been completed. Click “Finish” to close the wizard.