1. To begin, open Windows “Mail” app by either selecting the “Mail” icon from the Windows “Desktop” or by selecting the from the “Start” menu (formerly known as the “Windows” logo).
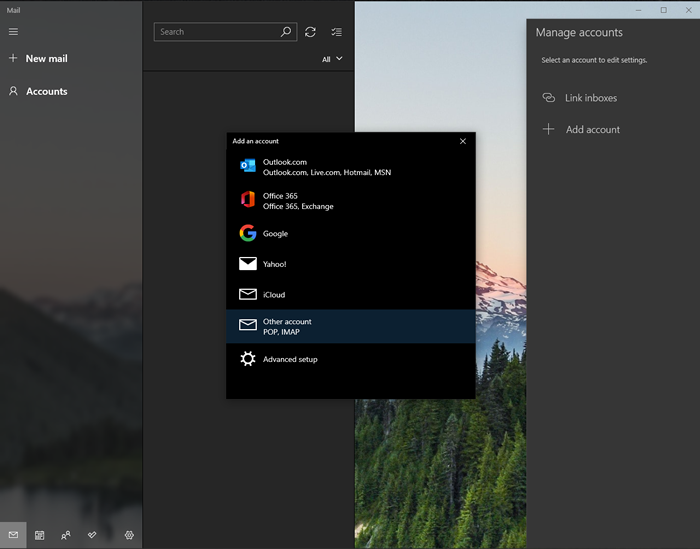
2. The Windows “Mail” app will now open. If this is the first time, it will prompt you with the “Add an account” dialogue. Choose “Other account POP, IMAP.”
NOTE: if this dialogue windows does not appear, click on "+Add account" from the right-hand menu. Next, choose "Other account POP, IMAP."
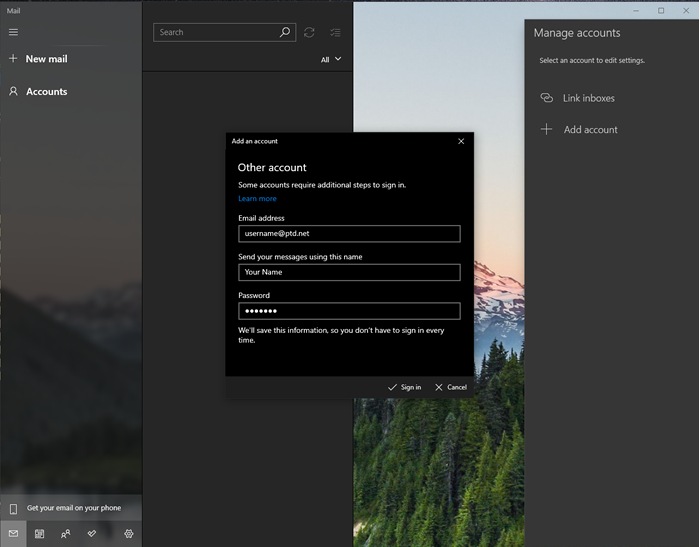
3. The “Add an account” dialogue will now appear. Please enter the following information within the corresponding fields:
“Email address:” username@ptd.net (enter your PenTeleData email address).
“Send your messages using this name:” Please enter your name as you would like it to appear when sending email.
"Password:," enter the password that corresponds to your "Email address" entered above. When typing your password, only a series of "***" will appear for password confidentiality.
When done, please select “Sign in.”
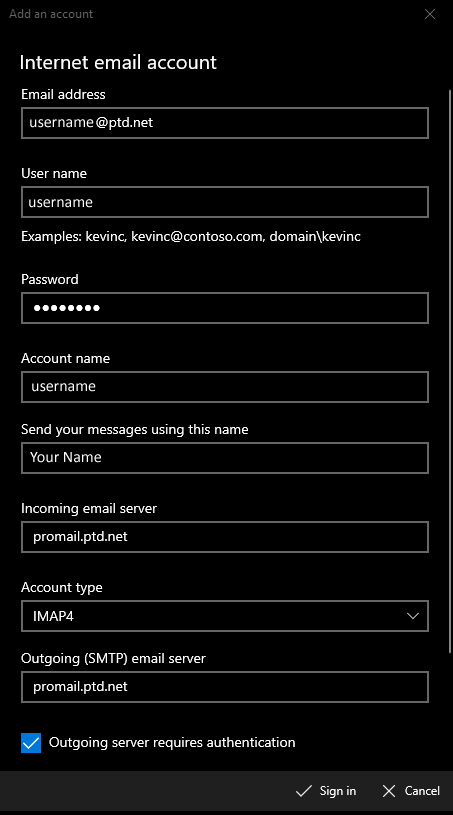
4. The Windows “Mail” app will attempt to reach out to the server. If it fails, you will need to enter the following information.
“Email address:” username@ptd.net (enter your PenTeleData email address).
“User name:” username (everything before the @ptd.net of your email address)
“Password:” Enter your corresponding password to access your email account.
Note: ***** (Only a series of asterisks will appear).
“Account name:” PenTeleData (something that will signify your PenTeleData email account)
“Send your messages using this name:” Please enter your name as you would like it to appear when sending email.
“Incoming email server:” enter "promail.ptd.net" (without the quotes)
“Account type:” select the drop-down menu and select "IMAP4."
“Outgoing (SMTP) email server:” enter "promail.ptd.net" (without the quotes)
“Outgoing server requires authentication,” should be checked off.
When done, select “Sign In.”
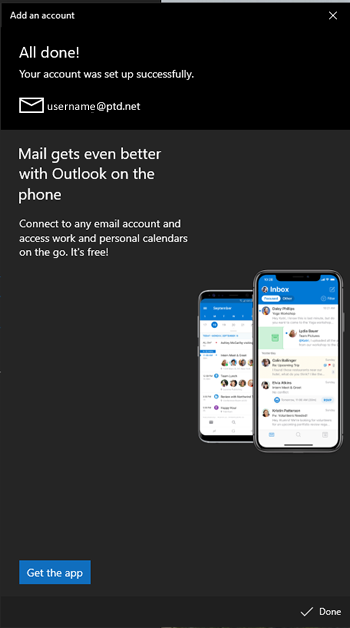
5. The Windows “Mail” app will reach out and connect to the mail server. If the information is correct, and your email address properly authenticates, you will be prompted with the following “All done!” notification. Click “Done.”